
If you've ever tried integrating blockchain wallet authentication into a Webflow site, you know the pain: JavaScript SDKs, wallet adapters, RPC endpoints, and a maze of documentation. By the time you're done, you've spent hours debugging connection issues instead of building your actual product.
Here's the reality: connecting a NEAR wallet to Webflow shouldn't require you to become a smart contract developer. You just need wallet authentication, so your users can sign in, prove their identity, and interact with your Web3 features.
That's exactly what Kiews handles for you. No smart contract deployment. No complex SDK configuration. Just a working NEAR wallet connection in about 5 minutes.
NEAR Protocol offers fast, low-cost transactions with a user-friendly account system (hello, human-readable addresses like yourname.near instead of 0x... chaos). Webflow gives you a powerful visual design tool without wrestling with React components.
Combine them, and you get a Web3-enabled website that actually looks professional: without hiring a full development team.
The challenge? Webflow doesn't natively support blockchain integrations. You're stuck adding custom code embeds, managing wallet state across pages, and hoping your implementation doesn't break when NEAR updates their SDK.
Unless you use a purpose-built integration system that handles the complexity for you.
Before we dive into the setup, make sure you have:
You don't need:
Head to kiews.xyz and create an account. The setup takes about 30 seconds.
Once you're in, you'll see the dashboard with available integrations. Select NEAR Protocol and then choose Webflow as your target platform.
Kiews automatically generates the connection code you need, pre-configured with wallet authentication logic, error handling, and state management. No SDK installation required on your end.
In your Kiews dashboard, copy the generated embed code for wallet connection. This includes:
Now, jump into your Webflow project. Navigate to the page where you want the wallet connection to appear (usually your homepage or a dedicated "Dashboard" page).
Add an Embed element where you want the sign-in button to appear. Paste the Kiews code directly into the custom code field.
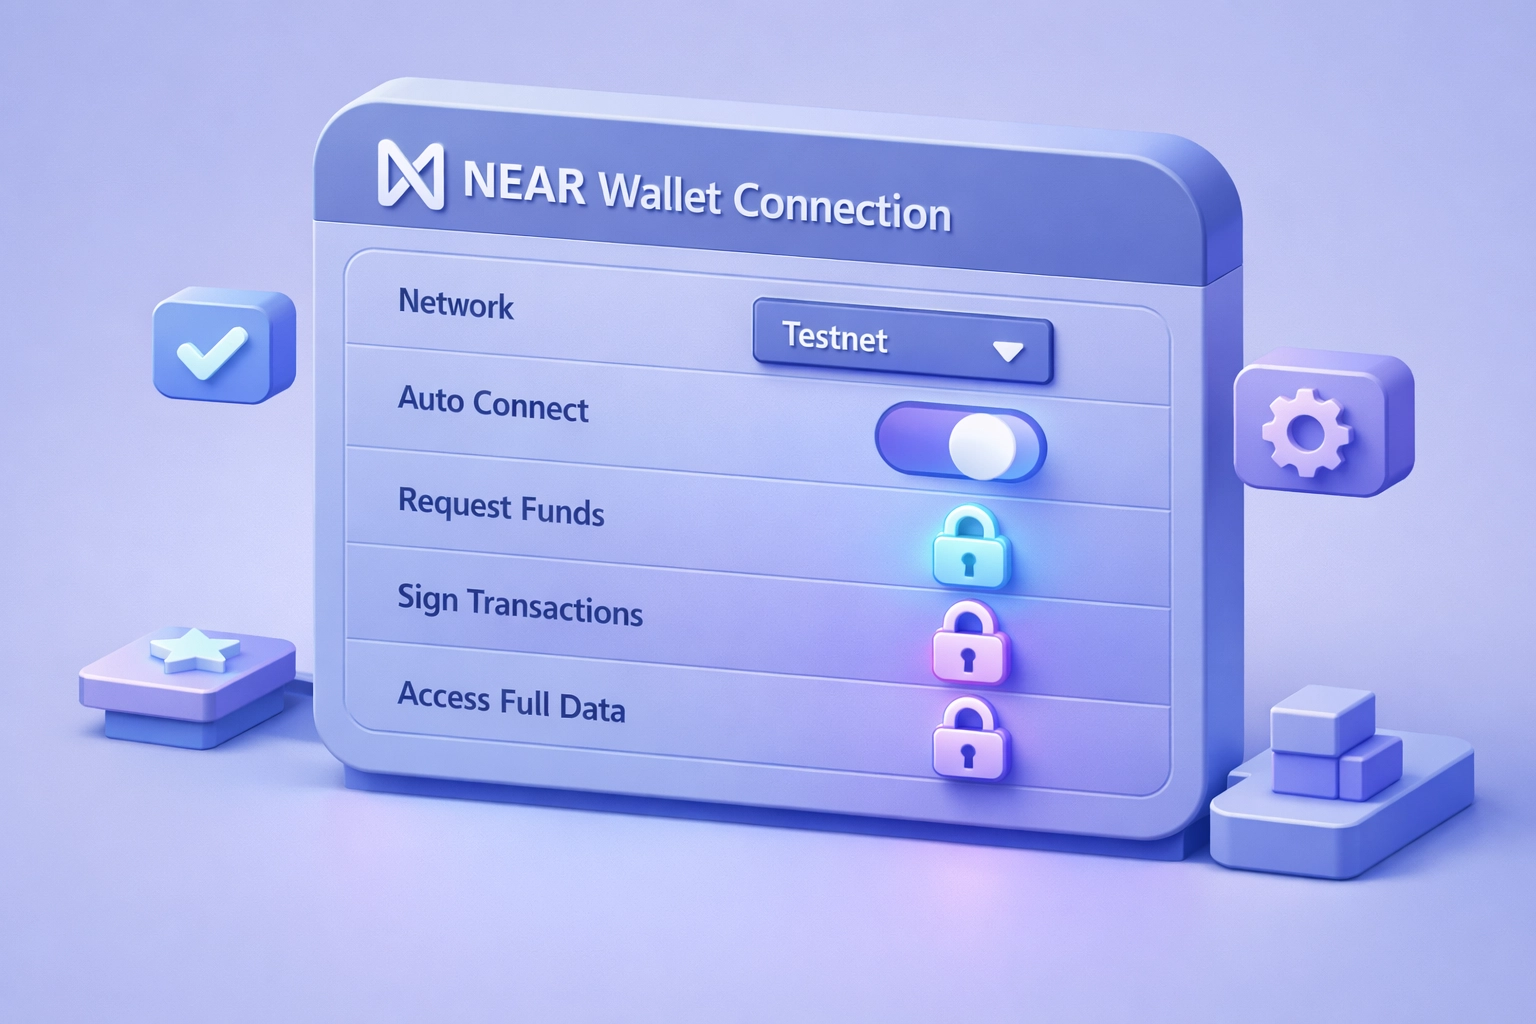
Back in Kiews, you'll configure a few basic settings:
Network selection: Choose between NEAR testnet (for development) or mainnet (for production). Start with testnet while you're building.
Account permissions: Kiews uses FunctionCall access keys by default, not FullAccess keys. This means users maintain control of their accounts: your integration can only call specific smart contract methods you define, not drain their wallet. This is the secure approach.
Callback URL: Set where users should land after successful authentication. Usually your Webflow site's main dashboard or member area.
Save your settings. Kiews handles all the wallet adapter configuration, RPC endpoint connections, and SDK initialization in the background.
Publish your Webflow site (or use the preview mode). Click your newly added "Connect Wallet" button.
You should see the NEAR wallet selector appear, offering options like:
Select your wallet, approve the connection request, and watch as your user's NEAR account ID appears on your site. The entire flow takes about 10 seconds for your users.
Kiews automatically stores the wallet connection state, so users stay authenticated across page navigation. No need to manually manage localStorage or session tokens.

Once a wallet is connected, you'll want to display the user's information. Kiews provides ready-to-use data points you can embed anywhere in Webflow:
username.near)Add another Embed element in Webflow wherever you want this info displayed. Use the Kiews dashboard to generate the display component code, paste it into Webflow, and you're done.
Your users now see their connected wallet information immediately after signing in. No additional JavaScript required from your side.
Now that you have NEAR wallet authentication working, here's what becomes possible:
Token-gated content: Show or hide Webflow CMS content based on wallet token holdings. Perfect for membership sites or exclusive communities.
NFT verification: Check if a connected wallet owns specific NFTs and unlock features accordingly. Build NFT galleries, token-gated courses, or exclusive landing pages.
Transaction triggers: Let users trigger NEAR smart contract calls directly from your Webflow site. Think minting NFTs, claiming rewards, or participating in DAOs: all with custom-designed Webflow buttons.
Multi-chain support: Add additional wallet connections (Ethereum, Solana) alongside NEAR using the same Kiews approach. Your Webflow site becomes a true multi-chain hub.
Kiews handles all the blockchain communication, transaction signing, and error states. You design the interface in Webflow and connect the pieces together.

Agencies and developers are using this exact setup for:
Web3 landing pages: Beautiful Webflow designs with functional wallet connection for token sales or NFT drops. No need to compromise on aesthetics for functionality.
DAO member portals: Webflow CMS for content management, NEAR wallet authentication for member verification. Update your DAO docs in Webflow, gate access by wallet holdings.
Blockchain-powered forms: Combine Webflow forms with NEAR transactions. Users fill out a form, connect their wallet, and trigger an on-chain action: all in one flow.
Decentralized marketplaces: List items in Webflow CMS, handle purchases through NEAR smart contracts. The visual flexibility of Webflow meets the trust of blockchain transactions.
Traditional blockchain integration forces you to choose: either use a no-code tool and skip Web3 features, or code everything from scratch to get blockchain functionality.
Kiews eliminates that tradeoff. You get Webflow's design power with NEAR's blockchain capabilities, connected through a system built specifically for this use case.
The key advantages:
Speed: 5 minutes to working wallet connection versus hours of SDK configuration Security: FunctionCall keys by default, not risky FullAccess keys Maintenance: Kiews updates when NEAR updates: your integration keeps working Flexibility: Start with wallet connection, add smart contract calls later as you need them
Your Webflow site stays fully visual and manageable. The blockchain complexity stays contained in Kiews, where it belongs.

The complete setup: from creating your Kiews account to publishing a Webflow site with working NEAR wallet connection: takes about 5 minutes of active work. Most of that time is clicking through Webflow's publish process.
You don't need blockchain expertise. You don't need to deploy smart contracts. You definitely don't need to become a JavaScript SDK expert.
You just need a Webflow site and the willingness to add two embed codes.
If you're building Web3 features on Webflow, token-gating content, or creating blockchain-enabled experiences without the traditional development overhead, this is your fastest path forward. Head to kiews.xyz and connect your first NEAR wallet today.
The NEAR ecosystem needs better-designed Web3 sites. With Webflow and Kiews, you can actually build them.
%202.svg)


